
This site contains affiliate links to products. We may receive a commission for purchases made through these links.

How To Make Your Own Bridal Veil
You probably noticed that bridal veils can be very expensive. And you may have decided to make a simple one for yourself. Or you may be a true DIY bride who would like to wear a veil she created rather than one she just bought in a store. What ever your motivation for making your own veil, the good news is you can do it!
First you need to consider how soft and drape-y versus stiffer and poof-y you want your veil to be.If you are into poof-y then the classic Bridal Illusion (tulle) will probably be your choice. It will make a veil with a lot of volume. When gathered and attached to a comb, that will add height when affixed to the top of your head. Think about how your veil will compliment, not detract from your dress.
If you would prefer the extremely soft, silk tulle, Kate Middleton, drapy look, then select English Net. You can achieve the look of $100 a yard silk tulle with $11 a yard English Net. A real cost savings!

Short Bridal Veil
Once you have your fabric, you are ready to begin.
Materials: You will need –
your fabric
an iron
a sewing machine
a needle
thread
scissors
a yardstick or measuring tape
fabric/pattern marker
a hair comb to attach the veil to
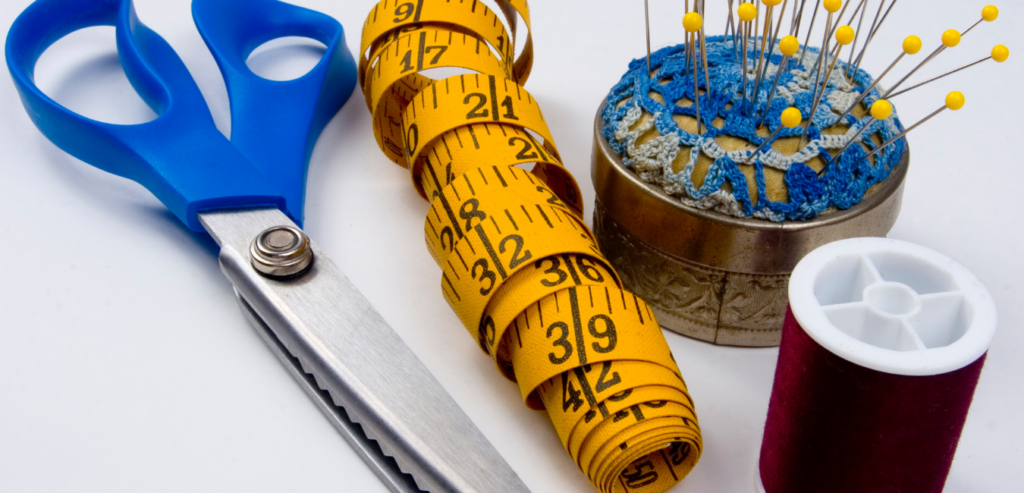
Gather all the supplies you need to make your bridal veil and you are ready to begin
1. Gently press the material to get rid of the wrinkles; don’t let your iron get too hot or you will ruin a more fragile fabric
2. Lay the fabric out on a big flat surface. A dining table or a cutting mat on a queen size bed works perfectly
3. You should have figured approximately how long you want your veil to be when you bought your fabric. For our purpose we will assume that you have decided on a finger tip length veil. Make the appropriate adjustments if your veil will be longer or shorter. The basic instructions work for all lengths.

Use a yardstick or measuring tape to figure exactly how long you want your veil to be
4. To decide where to cut your fabric measure from where the comb will be placed on your head to where you want the veil to come to – in our example finger tip length. Now measure your fabric and cut it to that measurement PLUS 3″ to allow for gathering.
5. If you want a fancier edge to your veil, use fabric glue to attach ribbon or lace or even sequins and pearls to the bottom edge of the fabric once you have cut it to size but before you begin to gather it.

To make your veil even more elegant you can sew or even glue some extra lace along the bottom edge
6. Set you machine to the longest stitch possible so that you can pull it up to gather the fabric. Or, if you prefer you can hand stitch 2 long basting stitch rows for gathering.
7. Leaving long tails at both the beginning and end, sew a straight line of stitches along one of the width edges
8. If the fabric bunches, flatten it back down, then sew a second line of stitches 1/2 inch below the first line, again leaving long tails for gathering.

To gather the fabric before attaching to a comb you will need a sewing machine to sew the long stitches
9. Hold the veil and pull the bobbin thread gently. The fabric will begin to gather. Don’t pull too hard or fast or you may get a bit of a jam. Just keep slowly working the gathers together until they are even and match the length of the comb. Tie the threads at each end to secure the gathers and trim off the long tails.
10. Trim the fabric at the top close to the gathering threads but be careful not to cut the threads.
11. Take your comb and put it so that the teeth are curving up. Lay it on top of the gathered top edge of the fabric and sew the fabric by hand to the comb, going around the teeth and into the tulle. Add any desired extra embellishments, like pearls or beads or sequins to the veil. They can be easily sewn or fabric glued on.
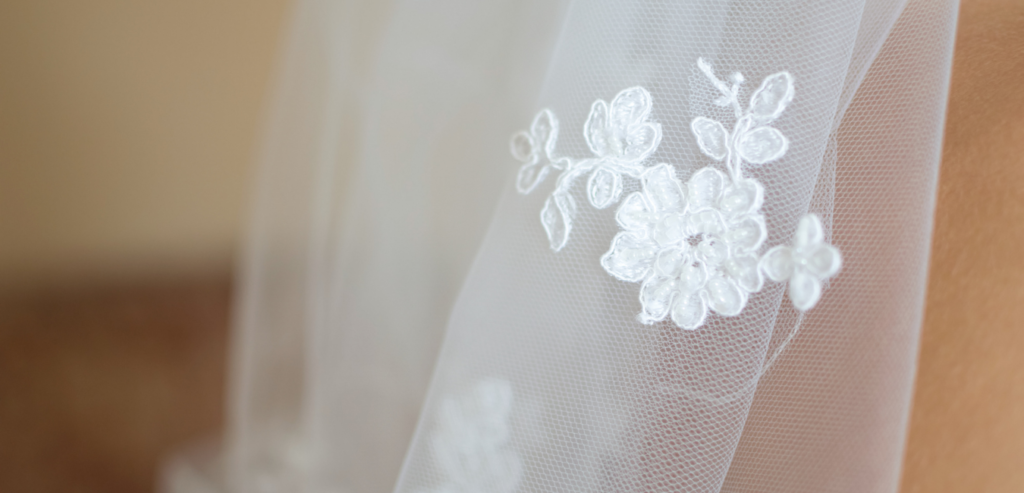
When your bridal veil is complete you can stitch or fabric glue lace appliques to the veil for an extra touch of elegance
12. To wear the veil you will push the comb downward curved toward your head into your hair with the veil coming over the top to hide the unfinished side of the veil.
Now you have a beautiful veil that looks just right with your dress and you made yourself to wear on your special day. You saved money and made the veil all about you.

This site contains affiliate links to products. We may receive a commission for purchases made through these links.